⭐Must-Have Products I Use & Recommend!⭐
Personal Note
I personally use and love these products in my kitchen. I only recommend what I trust!
I personally use and love these products in my kitchen. I only recommend what I trust!


Disclosure: This post contains affiliate links. If you click and make a purchase, I may earn a small commission at no extra cost to you.
Alright, let’s get real for a second. Life’s messy. Sometimes it throws you curveballs – a sudden cold snap, a stressful week at work, or just one of those days where everything feels…off. And while I can't promise a magic cure-all, I can offer you something pretty darn close: my Hundred-Mile Broth. Why ‘Hundred-Mile,’ you ask? Well, a friend once told me it's so nourishing it could keep you going for a hundred miles, like some sort of hearty traveller's stew! (Though, let's be honest, I just made that up. It sounds good, right?). It has a deeply savory flavor, a hug in a mug, crafted from roasted bones and nourishing vegetables, simmered for what feels like an age. It’s the kind of thing that makes you feel better from the inside out.

This isn’t your average, watered-down grocery store broth. This is the real deal. A long, slow extraction of goodness from marrow-rich bones. The kind of broth our grandmothers used to make – the kind that genuinely heals. I remember, back when I was a kid, my Grandma used to have it going all the time. She'd claim it was the key to a long and happy life, and honestly, at 92, she might have been on to something! It isn't just food; it's a tradition passed down, a gesture of care, a way to nurture those around you. Making it takes time, sure, but trust me, the effort is absolutely worth it.

So, if you are feeling under the weather, or just craving something truly nourishing, this recipe is for you. Don't let the long simmering time scare you off. It’s mostly hands-off, and the reward is a broth so rich and flavorful, it’ll warm your soul. Prepare yourself, friends. This is more than just a recipe; it's a process. A ritual. And the end result? Liquid gold. Trust me on this one. I wouldn't steer you wrong. Now, let's brew some magic, shall we?

Required Equipments
- Large Stockpot
- Ladle
- Fine-Mesh Strainer
- Storage Containers
The Hundred Mile Broth: Frequently Asked Questions
The Hundred Mile Broth
The Hundred-Mile Broth: a deeply nourishing, flavorful bone broth simmered for hours. A comforting elixir to soothe the soul and boost your well-being.
⏳ Yield & Time
Yield: 8 cups servings
Preparation Time: 15 minutes
Cook Time: 1440 minutes
Total Time:
🍽 Ingredients
📖 Instructions
- Get Started: Preheat your oven to 400°F (200°C). Find yourself a large roasting pan.
- Prep the Bones: Arrange the beef bones in the roasting pan in a single layer. Don't overcrowd them; they need room to brown properly.
- Roast the Bones: Roast the bones for about 45-60 minutes, flipping them halfway through. You want them to be deeply browned, almost caramelized. This is where the flavor comes from!
- Veggie Prep: While the bones roast, roughly chop the onion, carrots, and celery. No need to be precise here.
- Add Veggies and Roast: Toss the chopped vegetables into the roasting pan with the bones for the final 15-20 minutes of roasting. It gives them a nice char.
- Transfer to Stockpot: Carefully transfer the roasted bones and veggies to your large stockpot. Get every last bit of those browned bits from the roasting pan; they're liquid gold.
- Deglaze (Optional): If you want extra flavor, deglaze the roasting pan with about a cup of water or wine, scraping up all the browned bits. Pour this into the stockpot as well.
- Add Water and Vinegar: Add enough cold, filtered water to the stockpot to cover the bones and vegetables by about 2-3 inches. Stir in the apple cider vinegar.
- Bring to a Boil: Bring the mixture to a rolling boil over high heat. Keep an eye on it; you don't want it to boil over.
- Skim the Scum: As soon as it starts boiling, reduce the heat to a very low simmer. Skim off any scum or impurities that rise to the surface using a ladle. This step is crucial for a clear broth.
- Simmer, Simmer, Simmer: Cover the pot with a lid, leaving a small gap for steam to escape. Let it simmer for at least 24 hours, or even up to 48 hours for maximum flavor and nutrient extraction. Check the water level periodically and add more if needed.
- Add Herbs and Spices (Last Hour): During the last hour of simmering, add the parsley, bay leaf, and peppercorns to the pot. This prevents the herbs from becoming bitter.
- Strain the Broth: After simmering, let the broth cool slightly. Then, carefully strain it through a fine-mesh strainer lined with cheesecloth (if you have it) into a large bowl or container. Discard the solids; they've done their job.
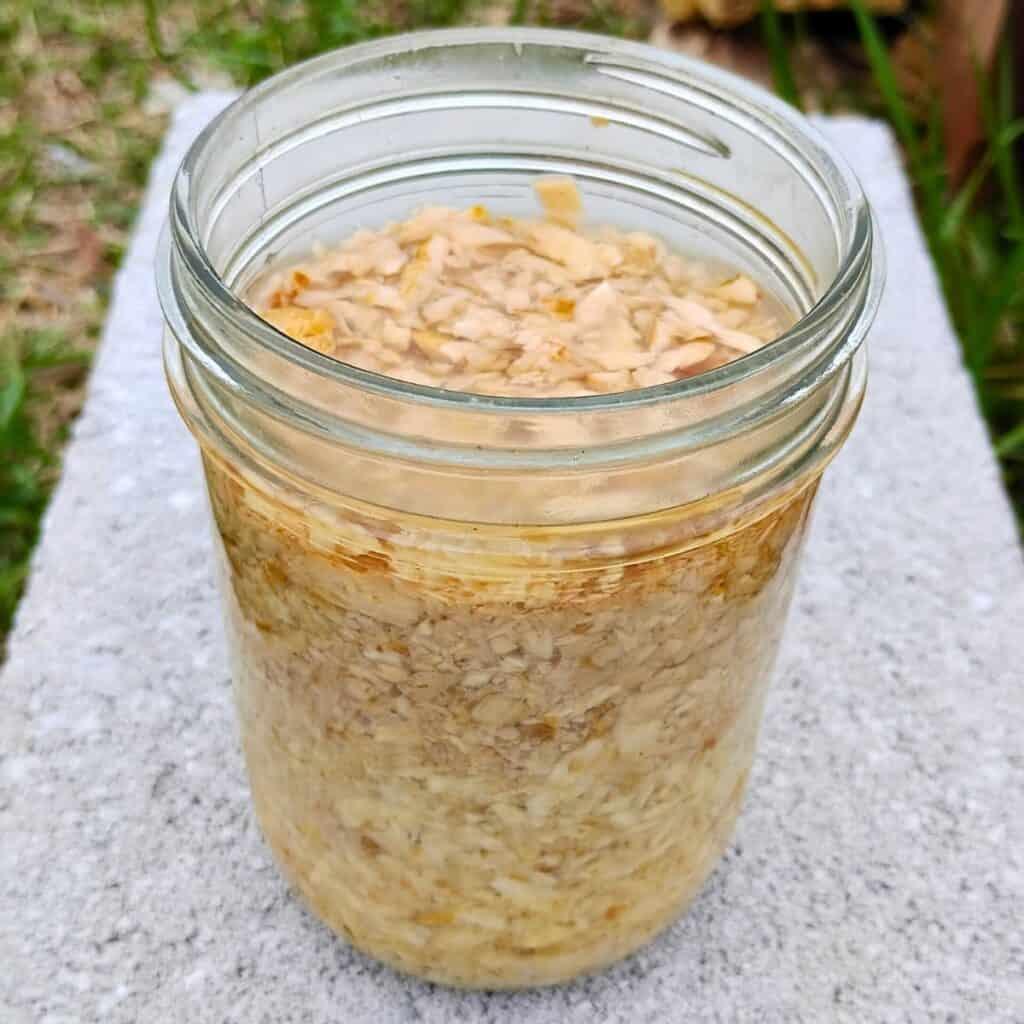
- Cool and Store: Let the broth cool completely before transferring it to airtight containers. Store in the refrigerator for up to 5-7 days, or freeze for longer storage. I like to freeze mine in mason jars or ice cube trays.
- Defat (Optional): Once the broth is chilled, you can easily remove the solidified fat layer from the top. Some people like to keep it for added flavor and nutrients.
📝 Notes
🍎 Nutrition
Calories: 80 kcal
Protein: 6g
Fat: 5g
Carbohydrates: 3g
Fiber: 1g
Calcium: 60mg